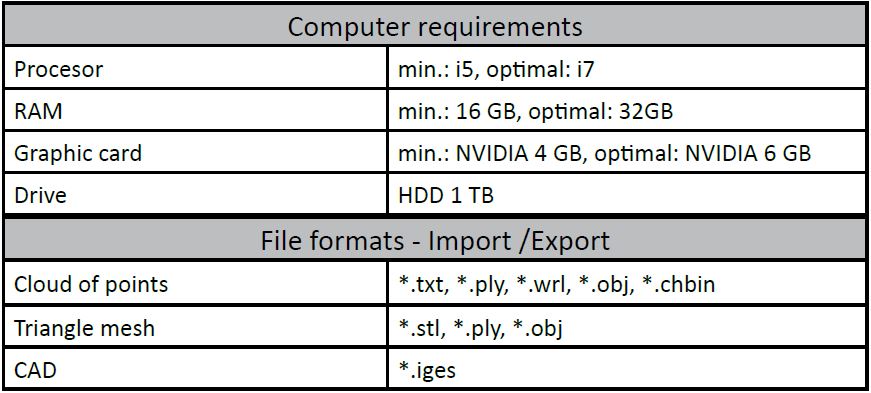
SMARTTECH3Dmeasure v.20 is a user-friendly, advanced control and post-processing software dedicated to acquiring data obtained from all models of SMARTTECHs’ 3D scanners and post-processing for RE processes, digitalization with color and quality control. This software is a perfect multi-tool for anyone starting work with an optical scanning without additional investment, no matter if you are an engineer or an archeologist.
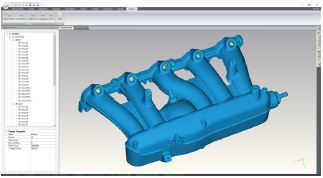
SMARTTECH3Dmeasure v.20 is a software solution that helps you to optimise your scanning process and handle data from your 3D scanner effectively:
3D scanning process
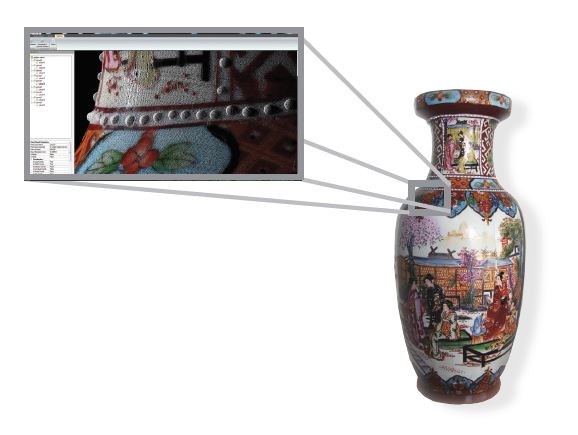
The software allows 3D scanning with a rotary table or positioning markers, as well as alignment of all scans based on the curvature of the object. Working with at least 300 million measuring points makes SMARTTECH3Dmeasure v.20 one of the unique programs on the market that enables smooth work on enormous point clouds while maintaining the color of the multi-colored surface of the object. Acquiring geometric information of an object with a dark or reflective surface using a dedicated 3D scanner is also not a problem.
User friendly
The graphically friendly interface will help the user to perform all stages of scanning and post-processing of 3D scans to obtain the perfect model for 3D printing, reverse engineering or quality control.
Live view
During the 3D scanning process, the software allows you to preview a real object. Now, the unscanned parts of the object no longer require you to start work from the beginning, just scan the missing fragments, and they will complete the model.
AUTOMATE your work to maxium
Industry 4.0 urqes users to automate the most of work to optimize both time and cost of men work. This idea stands also behind the new functionalities in SMARTTECH 3Dmeasure v.20 software.
Automatic alignment by the curvature
The new scan merging function based on the curvature allows automatic alighment of scanned data without using positioning markers or rotary stage table. This function is particularly useful when scanning large-size or unmarkable objects where rotational scanning is impossible. Scanning the objects from all sides will allow the operator to obtain a complex cloud of point, ready for further work. It is often used for scanning complicated and fragile national heritage objects where placing markers are strictly forbidden and time to perform the measurement is limited.
Automated measurement with geometric markers
SMARTTECH3Dmeasure v.20, in addition to standard options available in previous versions of the software, is now introducing a tool for measurements with geometric markers. This future will be appreciated by users who struggle with full measurement of flat or thin-walled objects. The use of additional ball markers attached to the outer frames enables accurate merging of the sides of the thinnest objects.
One click to your stl file
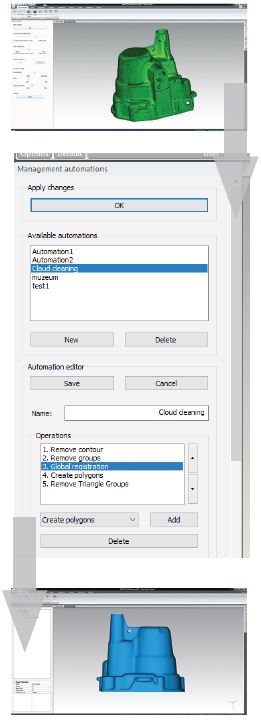
SMARTTECH3Dmeasure v.20 gives the user a tool to fully automate the entire process of obtaining your 3D model. Setting your measurement and processing path once allows you to use it any time for a series of the object you want to digitize. This literally means you can place the object on the rotary stage and return to your working station after enjoying a cup of coffee, simply to see that the STL file is ready for printing. It is a big advantage especially for those users who need to digitize large museum collections or series of products, as it can be performed by unqualified staff and can be done continuously. Cleaning of the point cloud has been automated and accelerated with new algorithms using 100% of the workstation’s computing power.
COMPARE, MAKE QUALITY CONTROL, MEASURE
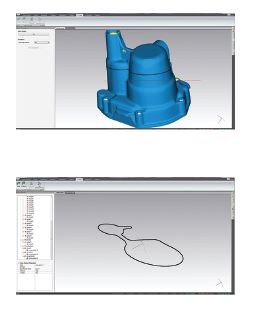
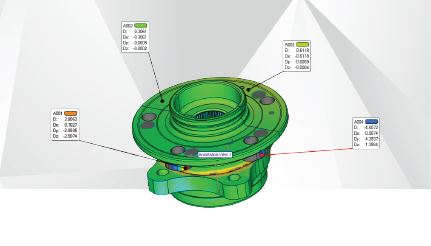
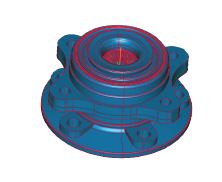
Based on the customer’s needs, the software has been equipped with basic tools needed for quality control, such as a color deviation map of the measured object and CAD reference, distance measurement, and both area and volume measurements. The user can also create a cross-section of the object and calculate partial or full perimeter of the structure. These features give the user the possibility to create a quality control report (PDF file) directly from SMARTECH3Dmeasure v.20 software. There is no need to make additional investments to perform basic geometry analysis.
SHOW YOUR RESULTS ON THE OBJECT
This is the newest function for users of SMARTTECH’s 3D scanners. It enables us to project points or lines and give the possibility to display a deviation map directly on the scanned object. This allows to mark places that need special attention from your staff during the ongoing production process. Sharing your remarks has never been easier – this time they simply appear on your object.
USE YOUR ACCURATE COLOR INFORMATION
Besides the geometry of the objects, SMARRTECH3Dmeasure allows you to acquire information about texture color in each measured point (RGB). This function assures users of color capturing scanners such as MICRON3D color that the texture information is accurate and no mapping errors occur. It also reflects the trend in archiving that tends to use point clouds as raw data from optical 3D scanning.
